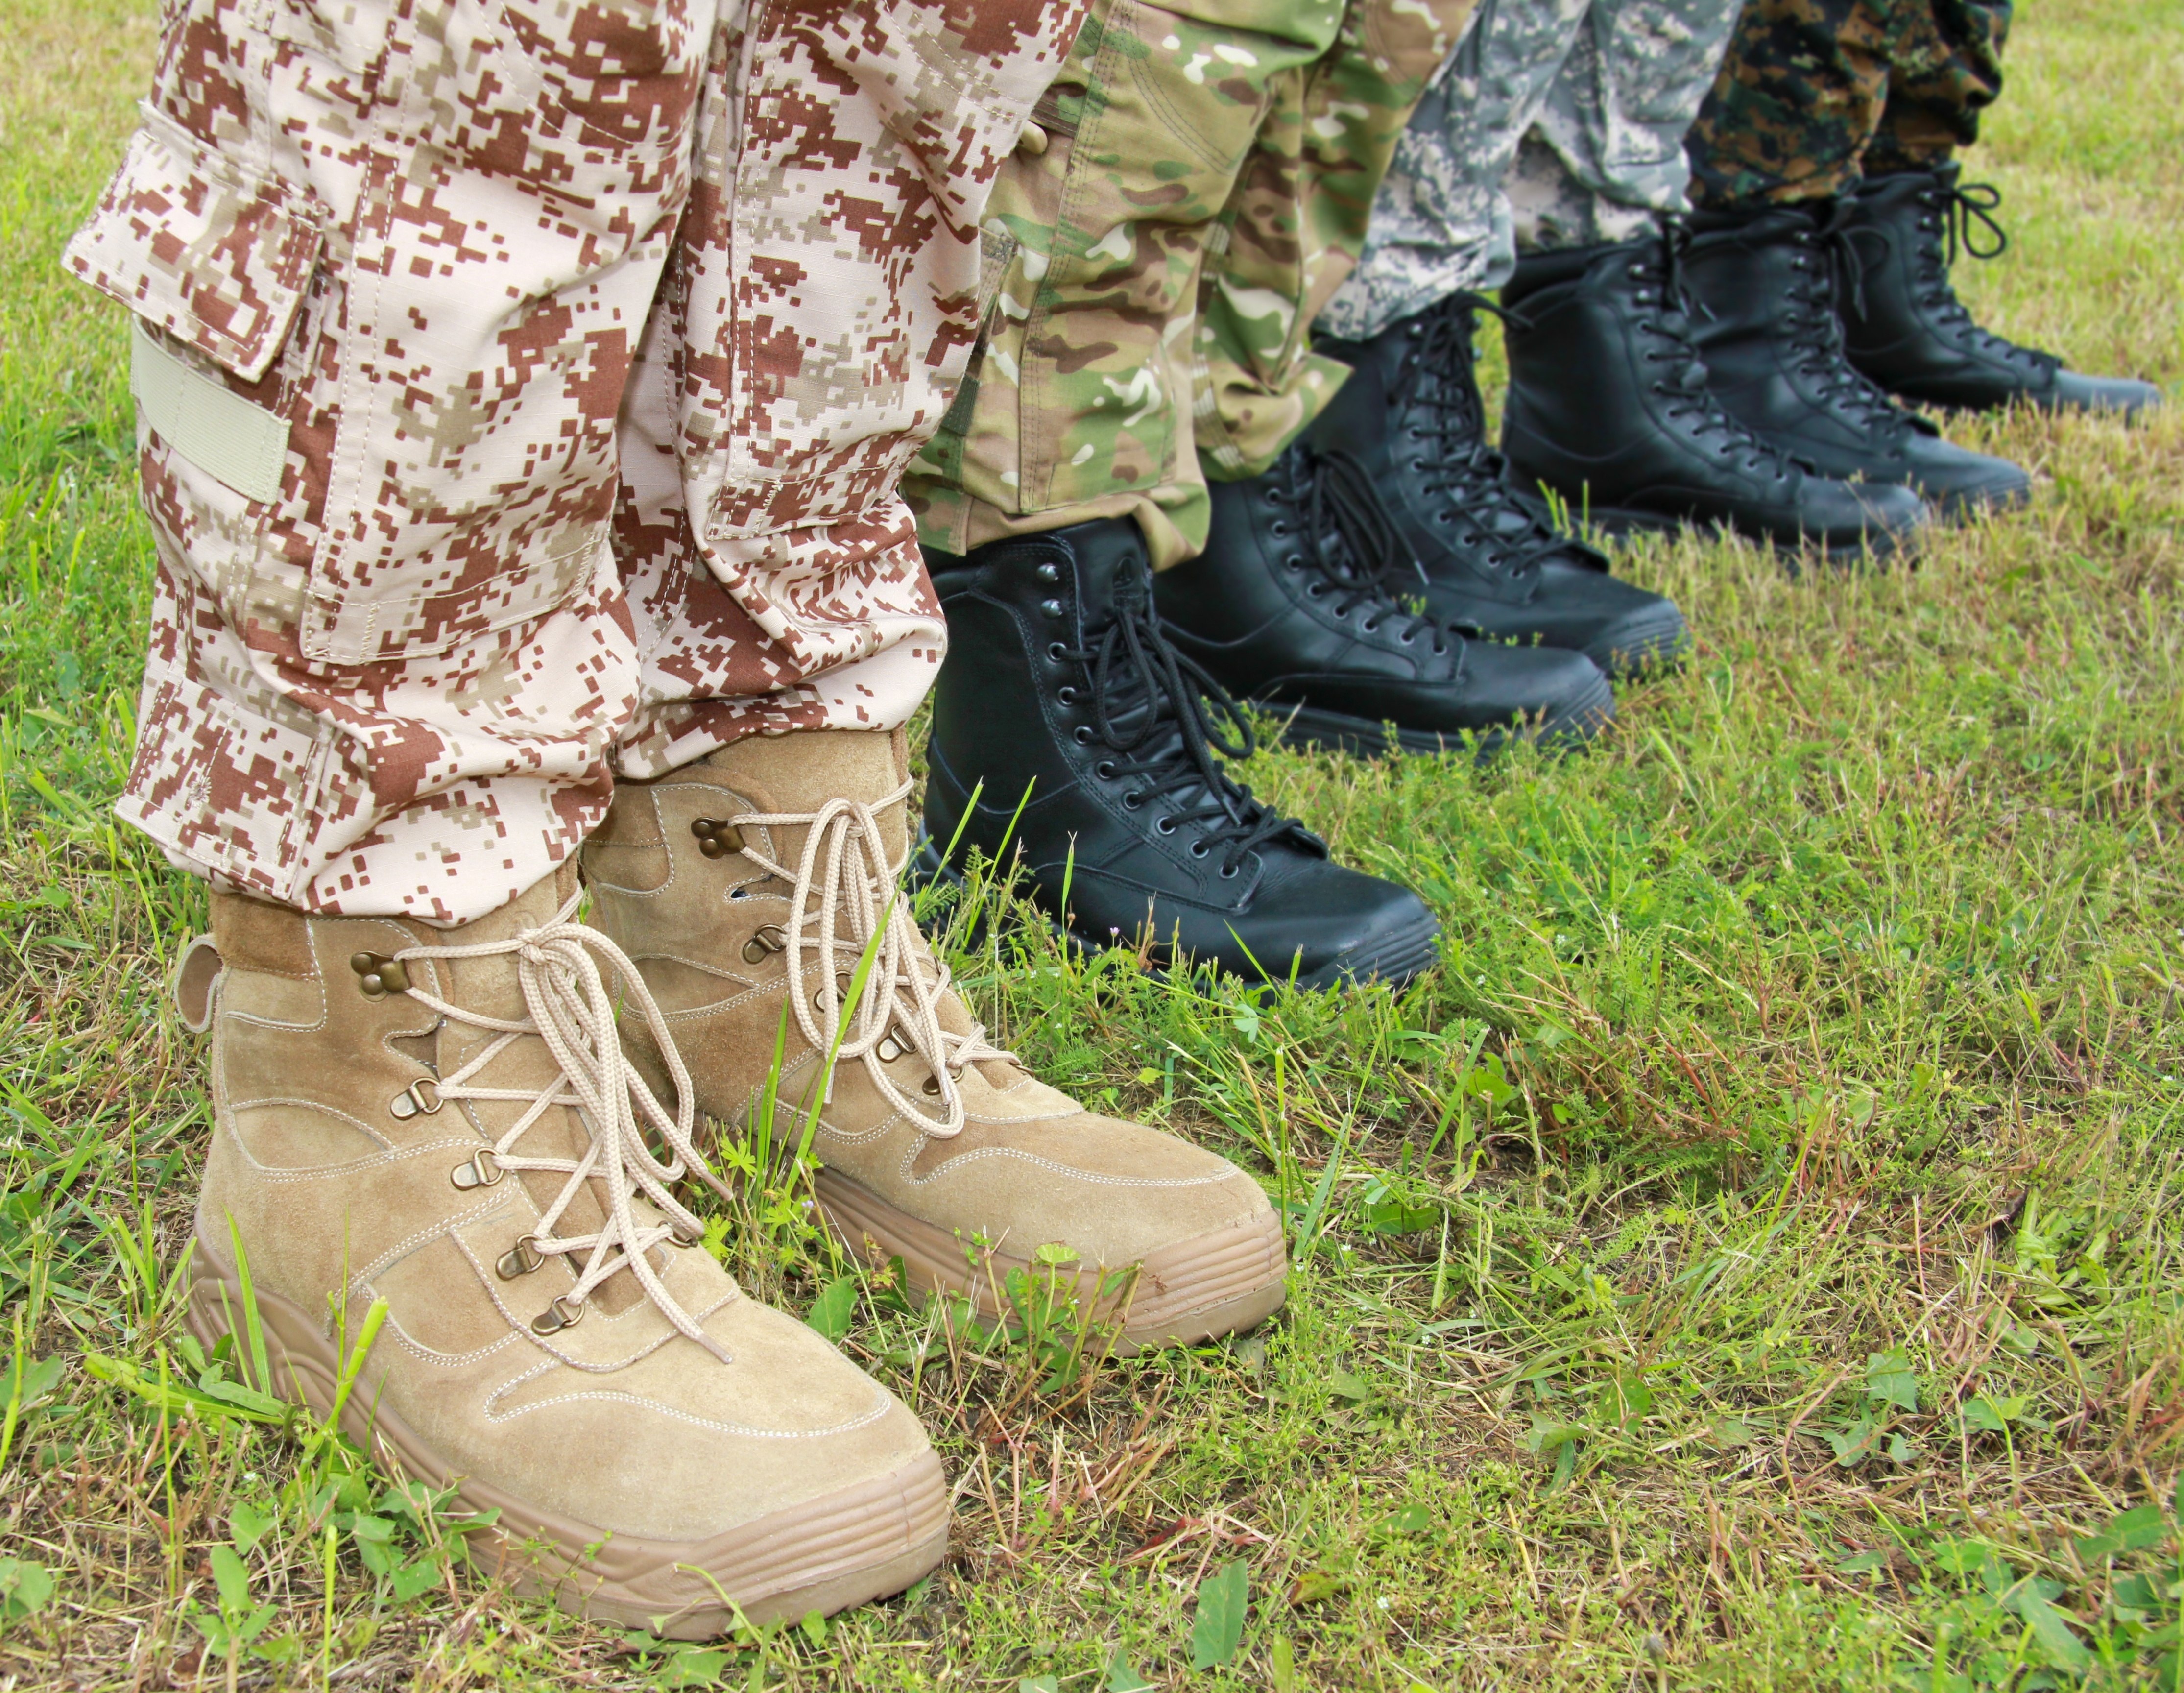
Here’s how you can keep your military boots looking clean, no matter your circumstances. Just follow this simple process.
The process behind cleaning military boots can be subdivided into three main steps: the scrubbing the shoe sole, the brushing of the shoe, and finally the polishing it. These three phases compose the relatively short and simple process of cleaning military boots.
Here is your guide to keeping your military boots clean, without having you break the bank.
Supplies needed to clean your boots
- Soft bristled brush
These can easily be found at most hardware retailers such as Lowe’s or The Home Depot. Expect to pay between fifteen to thirty dollars for one.
- Suede Cleaner
Can also be found at most large retailers, but best deals can be found on Amazon. Expect to pay around ten dollars.
- A couple white cloths
Easily found at most major stores. Expect to pay between ten and thirty dollars, depending on the brand.
- Suede Conditioner
Sold at most boot or outdoor shoe retailers, expect to pay between ten and thirty dollars, depending on the brand and size of the container.
- Suede Eraser
Sold at nearly every large retailer, such as Walmart or Target. Tend to be cheap, generally under eight dollars.
- Dishwashing Liquid
Located at every major retailer, can easily be purchase for less than five dollars.
- Baby Powder
Located at nearly every major retailer. Generally costs between three to eight dollars depending on the size of the container.
- Silicone Spray
Can be found at most hardware type retailers, and generally costs around ten dollars per container.
- Baking Soda
Can easily be found at your local grocery store, retails for around five dollars.
Now that you have the necessary supplies for cleaning your boots, we can now move on to the next step: scrubbing the sole of your shoe.
Scrubbing the shoe sole
Begin by using an old toothbrush that you no longer use, as it will be your means of cleaning the exterior of the shoe. Next, begin scrubbing the sole of your shoe, making sure to apply a little bit of pressure to remove the unwanted dirt or debris that may have accumulated. Continue this process for a minute or until the brush begins to get dirty, then resoak the brush and clean the dirt off. Once the soles appear to be clean, you can now take a cloth and wipe the sole off, making sure to scrub anything else you can see. Continue this process until there are no longer any visible dirt or stains on the sole of the shoe.
Brushing the Shoe
Now that the soles are clean, we can now focus on the outside of the shoe itself. First, begin by taking a soft-bristled brush, either a larger type or even a toothbrush, and begin lightly scrubbing the exterior of the shoe, making sure to look out for dirt.
First, before doing anything to the shoe, make sure it is completely dry. Although most of these boots are waterproof, they can still become dampened because of perspiration and through water entering from the top of the boot or the eyelets. If the boots are wet, give them a sufficient period of time to dry before cleaning them.
Dirt/ Mud stains
If your boots happen to have mud stains, you will need to wait for it to dry before scrubbing. Once that has finished, use a larger sized brush and begin scrubbing any excess dirt. After this, mix half a teaspoon of dishwashing liquid with a cup of warm water. Next, put a sponge or soft cloth into this solution, and begin wiping away any excess dirt from off the outside of the shoes.
Make sure that you do not use any strong cleaners that are oil or alcohol-based. This is important because the alcohol will damage and dry out the leather of the shoe, while the oil-based cleansers are likely to leave stains on the boots, which is the exact opposite of what we want. Once this process is finally complete, you can now wipe the boots down with some water, then provide it time to dry.
For marks or streaks, the easiest solution would be using suede erasers or suede stones. Identify and scrub on these spots, making sure to apply a little bit of pressure. Make sure not to scrub too heavily, as this can remove some of the outside skin, and ruin the look of the shoe.
Oil Stains
If the boots happen to have any oil or chemical stains on them, the first necessary step is to sprinkle baby powder across the affected area. Although it looks strange and unorthodox, this is effective because it will absorb the soil from off the shoe. Once you have applied this baby powder, wait for at least forty minutes for it to have sufficient time to dry the oil off. After this duration of time, if the boots still appear oily, then reapply and wait an additional forty minutes.
Cleaning the Shoelaces.
There are two ways to clean the shoelaces of your boots: putting them into your washing machine or simply hand washing them. Although simply putting it into a washing machine is a much easier process, it is not as detailed or effective at cleaning small stains on the laces. To hand wash it, mix some hot water with some laundry detergent. Let the laces sit in the solution for half an hour or so, then scrub off any remained dirt or stains with a toothbrush. After this, allow the laces sufficient time to dry, preferably in a dry and warm area.
Cleaning the interior of the shoe
Now that the exterior of the shoe has been cleaned, lets now focus on our favorite part of the shoe: the interior. Your first step is to remove the insoles of your shoes and give them time to dry. After the insoles have dried, you can simply handwash them with some soap and warm water.
Although it will be tempting, make sure not to simply throw it into your washing machine, as this risks damaging the natural shape and integrity. Once you have finished handwashing, simply use a cloth to wiped down the interior of the boots. Once this is complete, give the interior of your boots at least an hour to dry.
Polishing the shoe
Now that the soles, interior, and exterior of your military boots are now clean, we are now on to the final step: the Polishing of the shoe. This step is especially important, as it is the difference between a decent-looking pair of boots and a clean, fantastic new look.
At this point, the exterior of the shoe should be clean and completely dry. The next step is to carefully apply shoe polish across the exterior, using a rag. Apply shoe polish to the shoe with a soft cloth or rag. The best way to make sure that sufficient polish has been used is to apply it by rubbing it across the shoe interior in circular motions, making sure a think coat covers whichever side you are focusing on.
Make sure to be very careful and meticulous, as the polish will stain the shoe, and any mistakes are very difficult to compensate for. Once this process is complete, use your rag to remove any excess shoe polish that remains, and smooth out any uneven spots. Doing this will allow the recoating of your boots to look natural, and will also give it a more clean and new look.
After this is finished, use your cloth and rub across the shoe in a back and forth motion, making sure that everything looks even and is properly smoothed out. After this process is complete, congrats! You have finally finished the process of cleaning your military boots.
Product Recommendations for your Military Boots
Here are two high quality products that have received excellent ratings and are great for cleaning your military boots.
Shacke Suede & Nubuck 4-way Leather Brush Cleaner
- Effective in not only cleaning boots but most any leather product in general, from belts to coats.
- Has a welt Surface which is specifically built for cleaning tougher stains and marks
- Has Nylon bristles that are built specifically to handle more delicate and mild stains on leather
- Comes with an arched circle brush and a thin protruding brush that are both designed specifically for reaching tough spots and corners for whatever leather product that you own.
Stone and Clark 12 PC shoe polish and Care Kit
- High-Quality Shining Equipment — This is a high-quality kit designed specifically for higher-end level leather repair and polishing. Whether it is your favorite pair of leather shoes or your favorite coat, this can do it all.
- Built for life — This kit is designed to address any and every potential problem that your leather product may encounter. You can use it for anything from deep scratches, to cracks, to any number of stains.
- Conveniently portable — Regardless of the occasion, you can bring this case with you anywhere. This kit is portable and lightweight, so there’s no reason to worry about bringing it along with you whether you go. It is made specifically to be easy to travel with, and can comfortably be fit inside your suitcase.