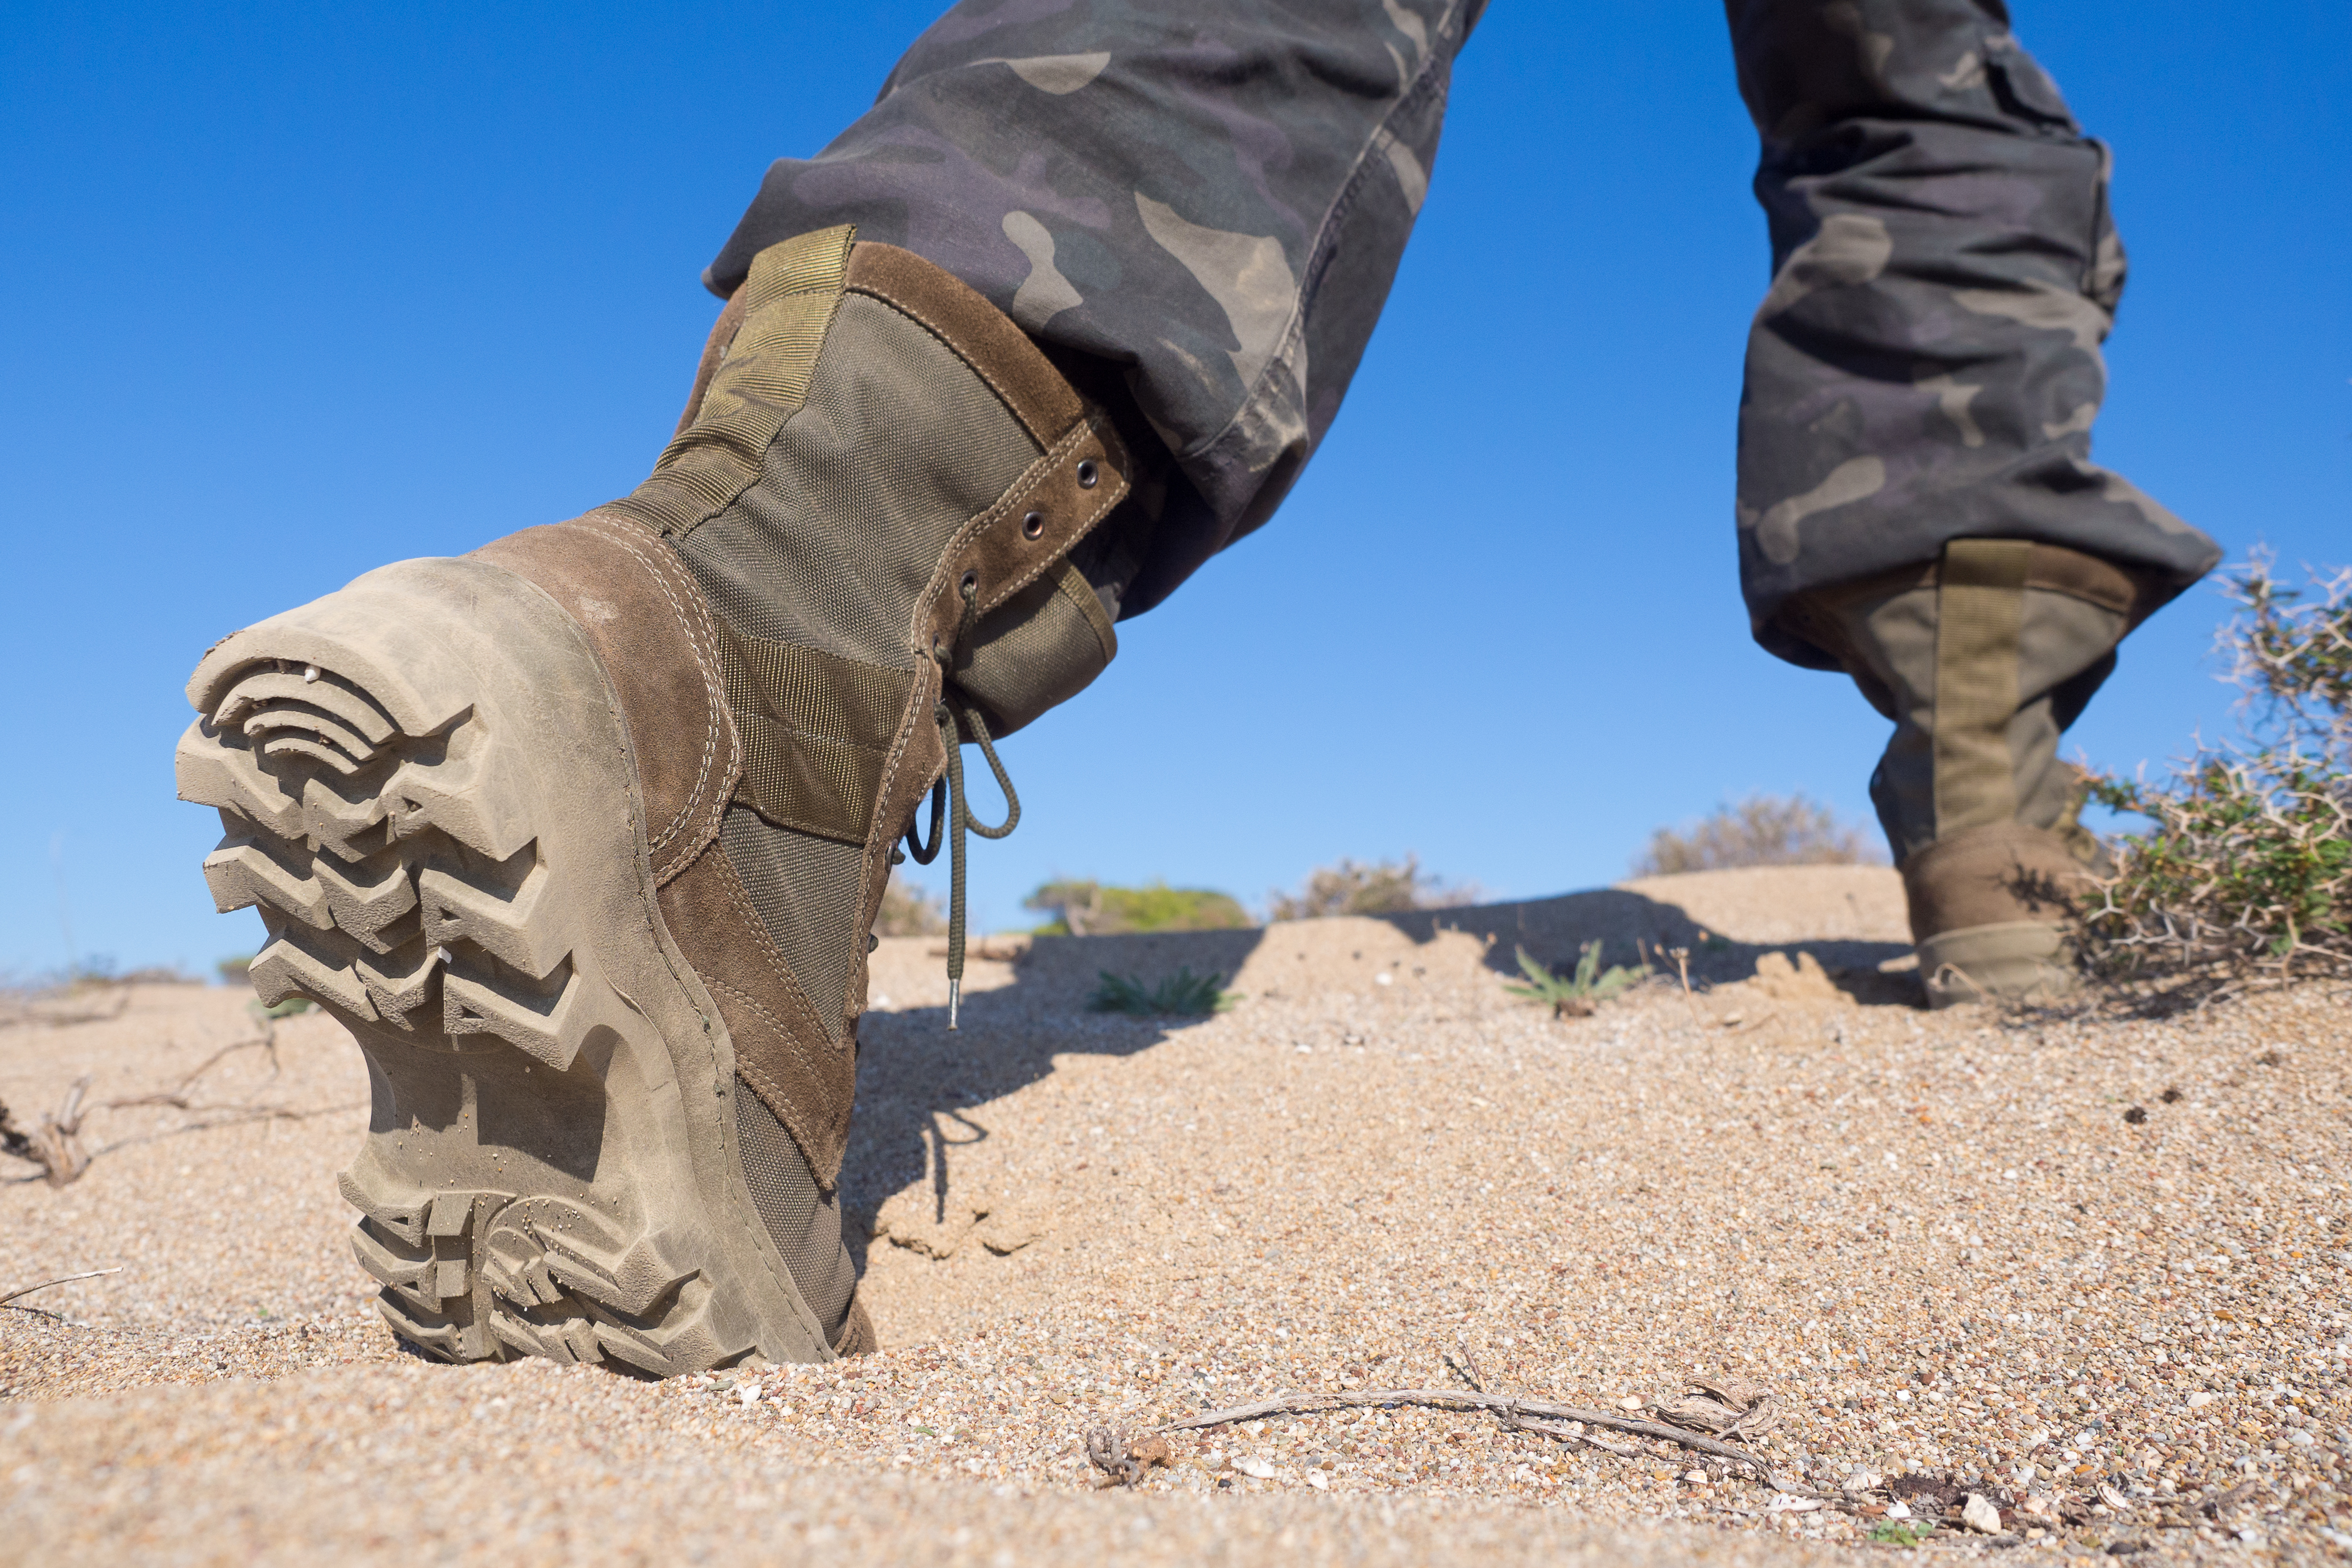
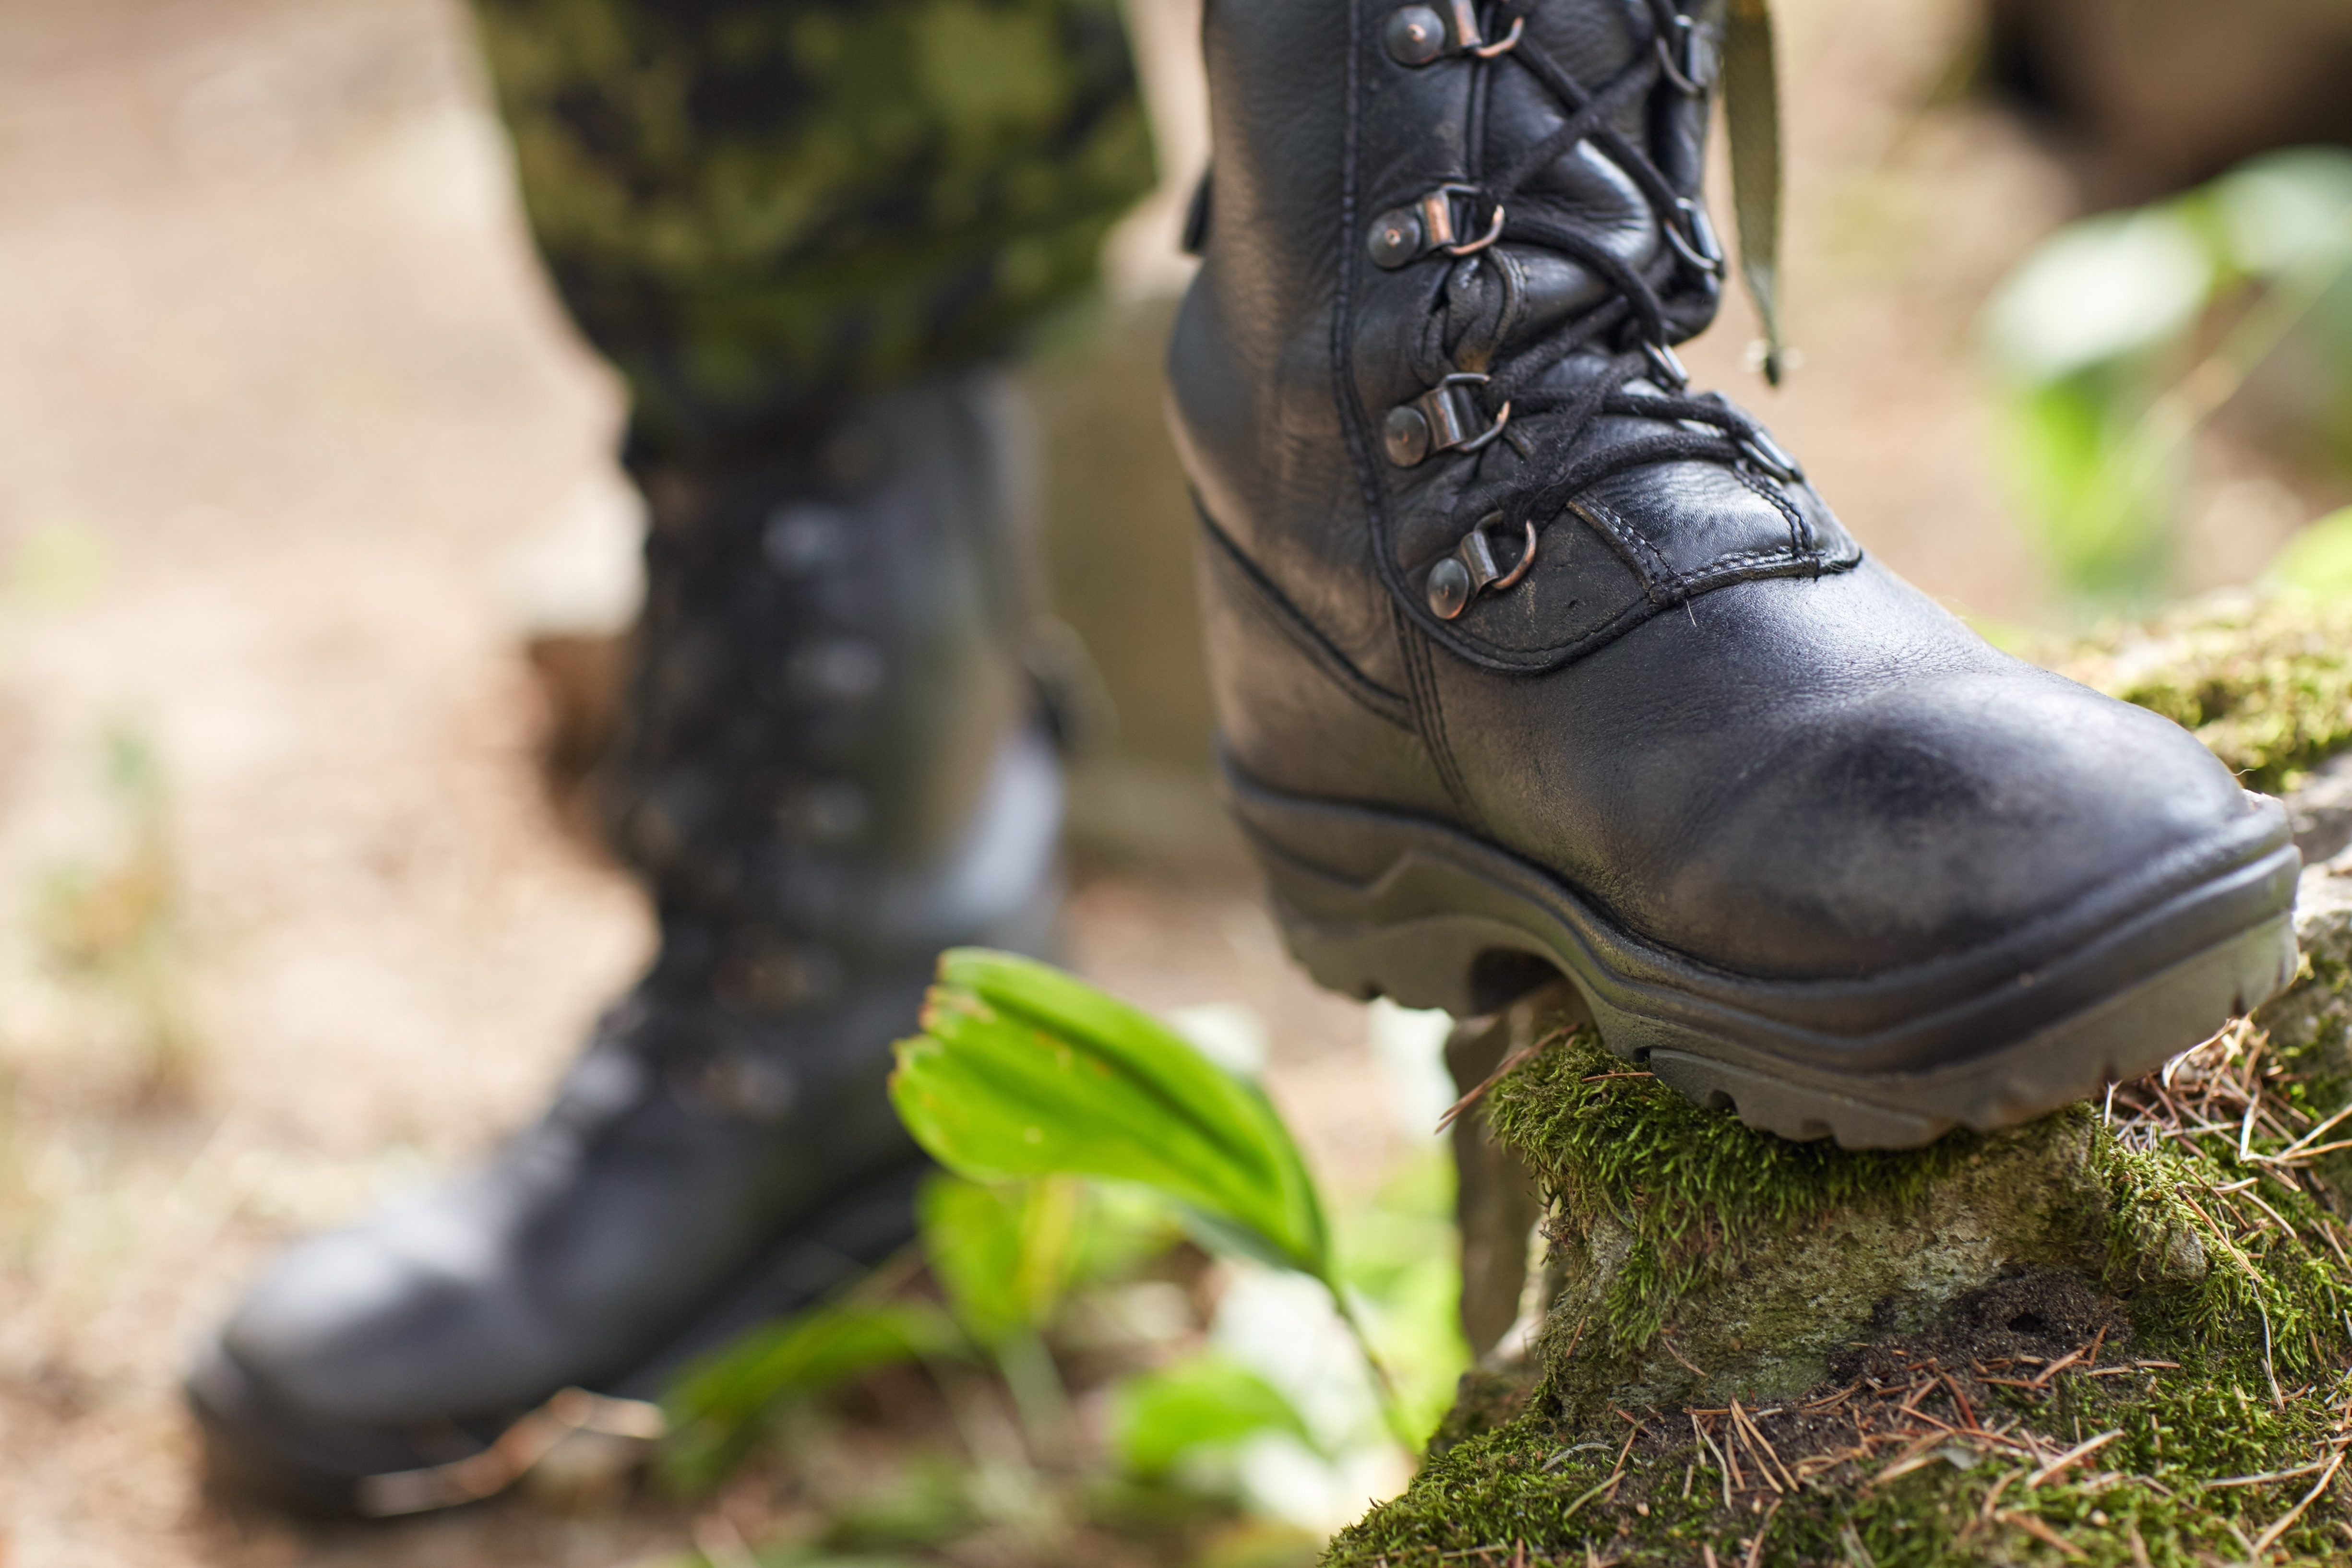
Combat boots last a long time. On average 2-3 years. They’re specifically made to last in all types of terrain, weather, and wear. So when they do begin to fall apart, it doesn’t seem like that big of a deal to just buy new ones. But what if you’re a little bit clumsy? Personally, I seem to always be mucking up my shoes. I don’t know if I trip too much, or I drag my feet, but my shoes are always scratched, dirty, and falling apart. No matter how new they might be. Yes, even my combat boots struggle to stay together.
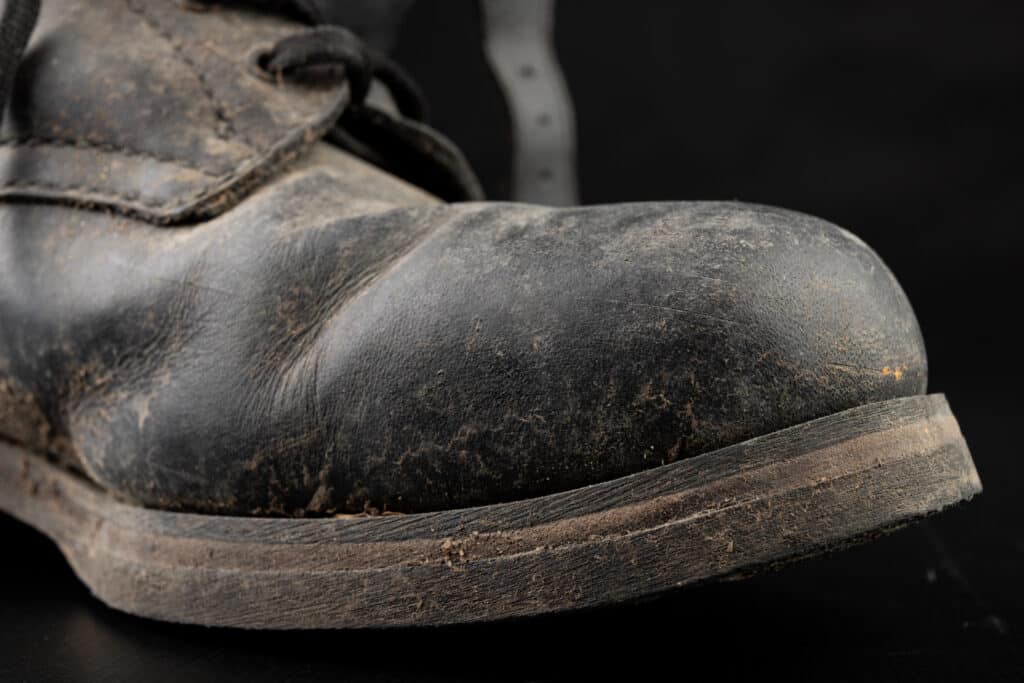
If this is the case for you, buying new combat boots so soon might be hard. Or, maybe you just really love the pair you have, after all, they can be hard to break in. Whatever your situation, the sole is coming off, and you just can’t seem to part with the ones you have. What do you do? Take them to a cobbler to have them replaced? In today’s world there are instructions for everything, so to re-sole your shoes on a budget, here’s what you need to know.
What You’ll Need:
There are quite a few items you’ll nee to resole your shoes before we get started, and we recommend you buy them before the resoling processes
- A new sole
- Shoe glue
- A clamp/ tie/ or rope
- Hairdryer
- Nail Polish Remover
- Exact-O knife (or knife of your choosing)
- Sand Paper
1. Clean Your Shoes
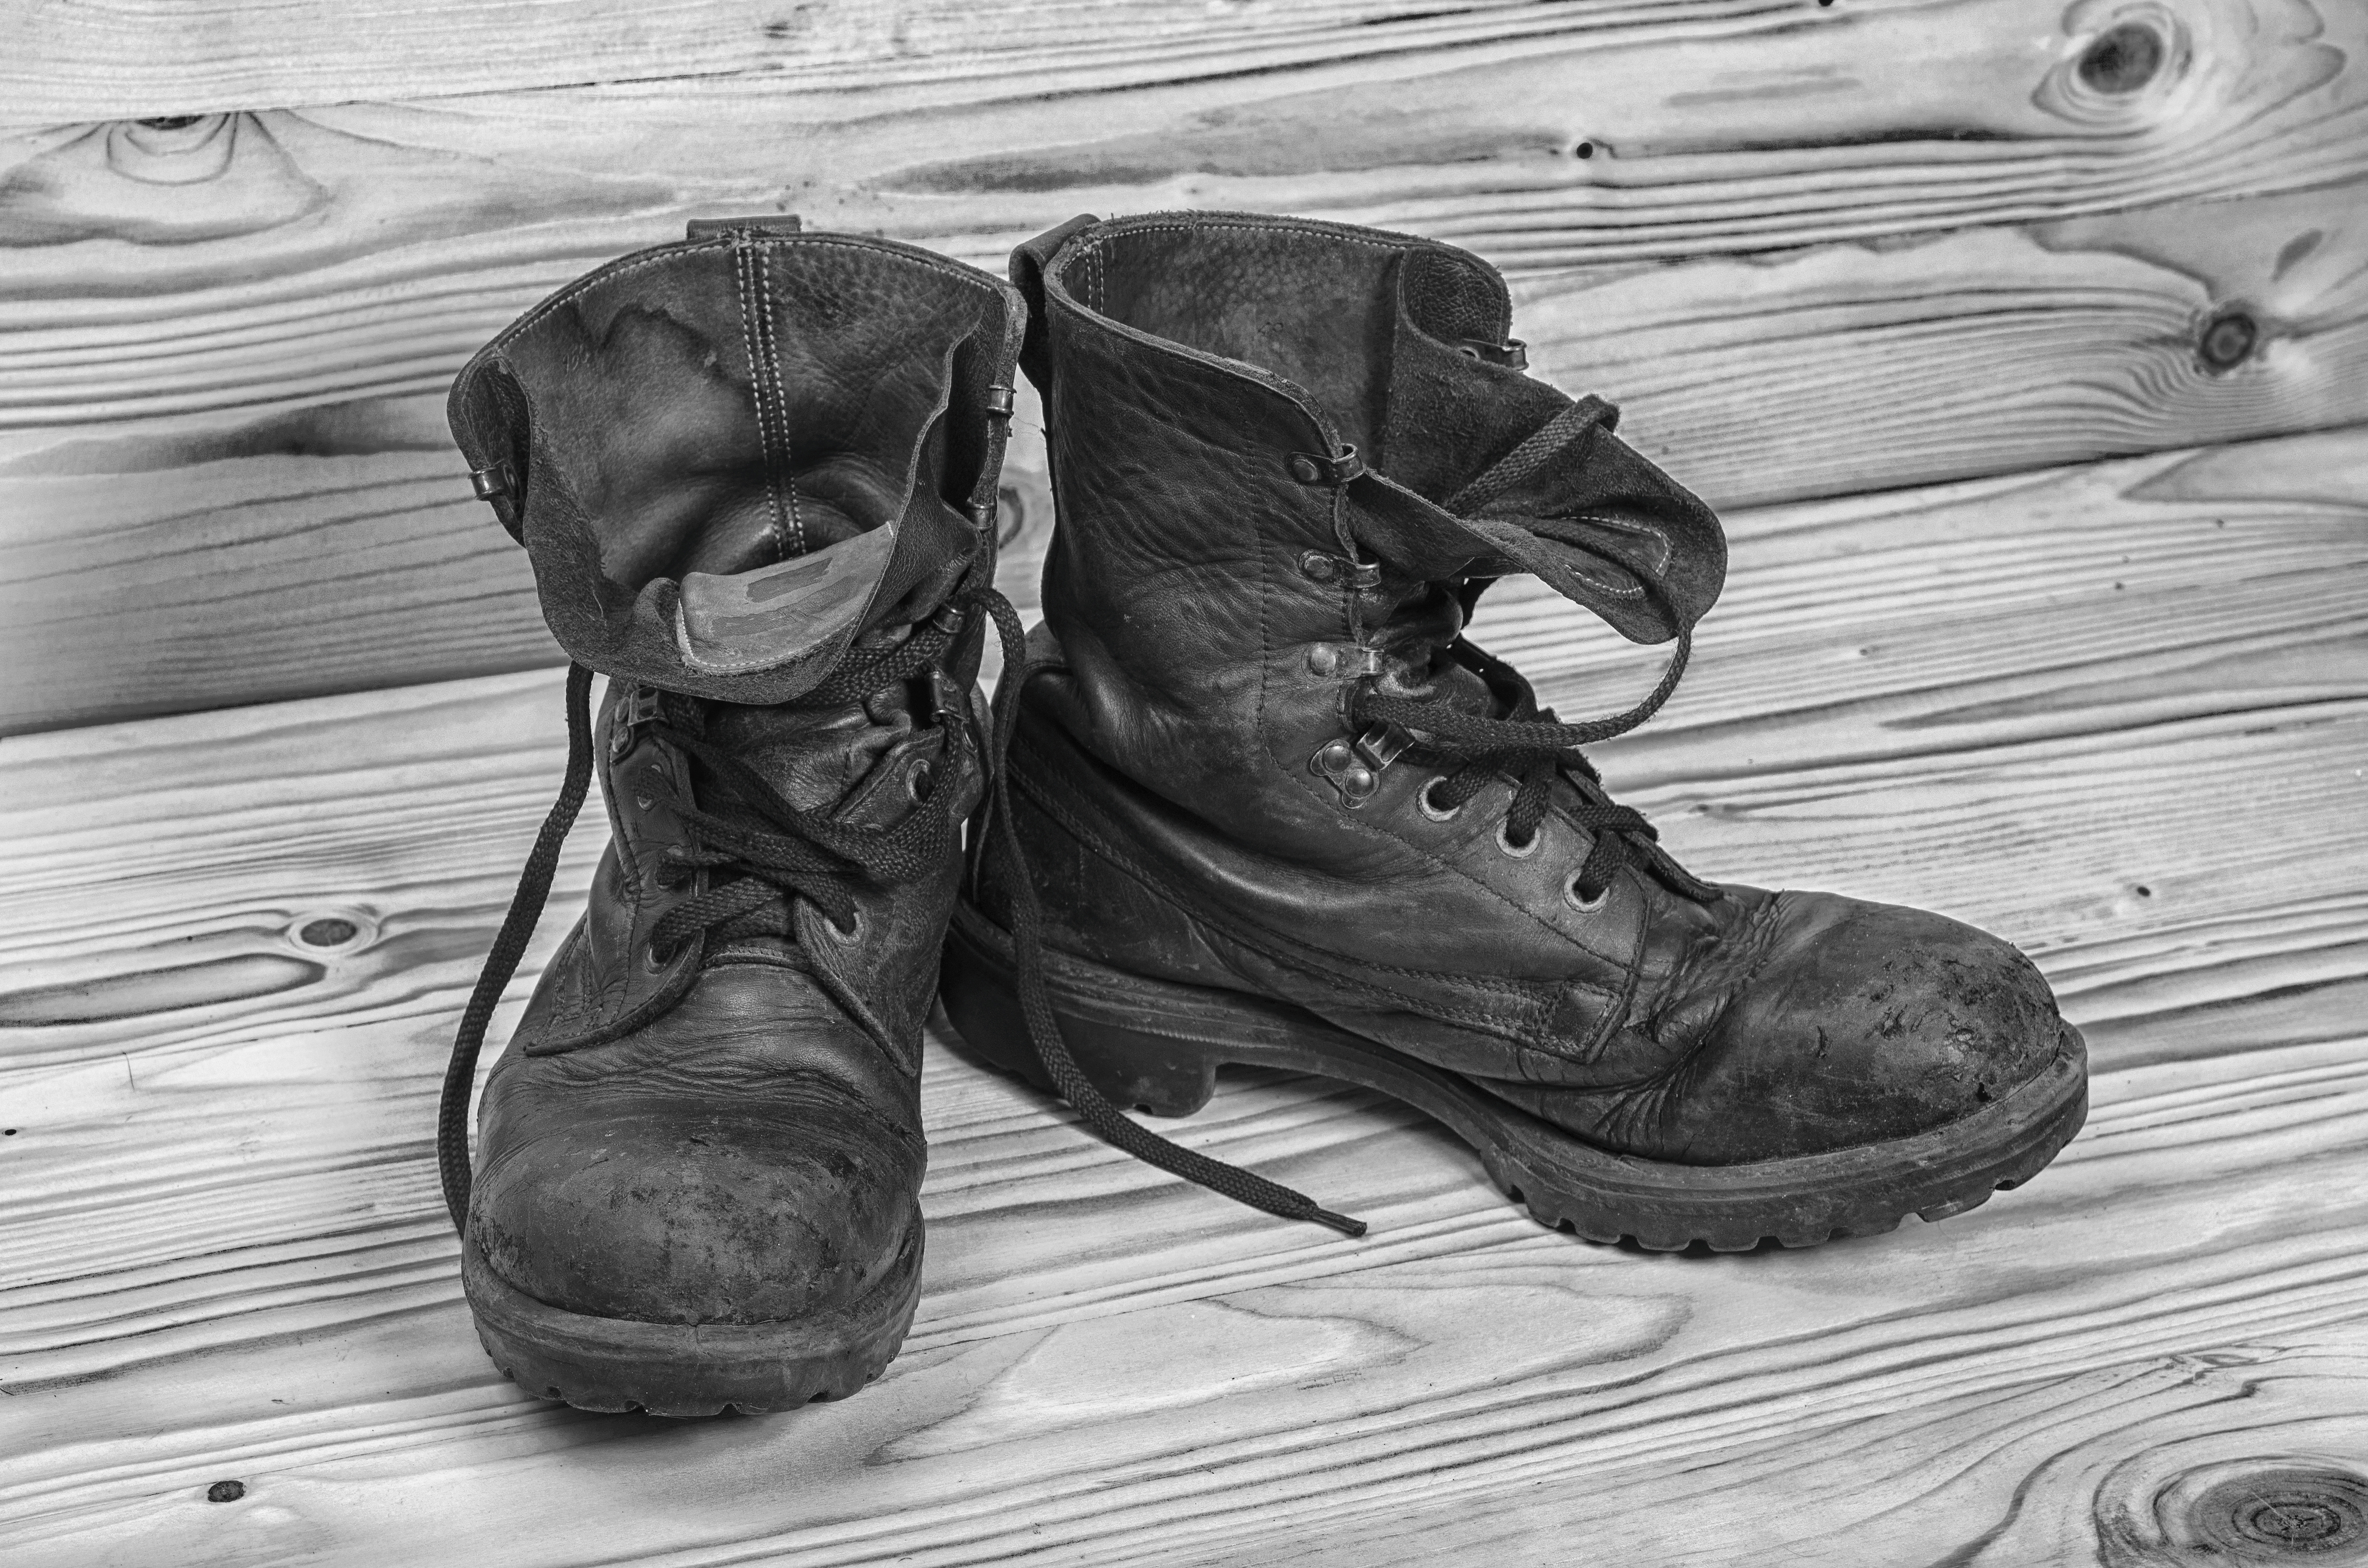
Regardless of how clean you might already keep them, shoes with the soles coming off are often well-loved. Using warm water, soap, and a sponge or rag, clean the outside and bottom of your shoe. Having a clean shoe avoids the added stress of having to work around dirt, but you especially want to clean the sole. Often, if a sole is falling apart, it’s going to trap dirt, gravel, or anything else between the spaces. Cleaning this space will make it easier to get the sole off in the long run, and easier to add a new one back on.
You can also look at cleaning your shoes in the washer, if your washer can handle it. If you’re not interested in hand washing them, you throwing them in the washer is also a way to go. Fair warning, however, often times if you have an older washing machine or a more delicate one, shoes can destroy them. Especially something as big and bulky as combat boots. If you do, however, make sure there are no other clothes within the wash, and that the laces have been taken off. This may also help with loosening the glue, and removing the sole later on, but again only if your washer can handle it.
2. Loosen The Glue
Now, it’s already holding on to nothing, your sole is probably still stuck to the shoe with adhesive. This type of glue is incredibly strong and can be difficult to remove just by yourself. Using a hairdryer (and watching out for your hands) heat the bottom of the shoe until the glue begins to melt. This will make your next step a lot easier!
Now don’t remove it quite yet, you don’t want to simply just pull it off. This can create a warped issue where the sole is still attached but just pulled apart. This step is simply to loosen the glue, don’t get ahead of yourself.
3. Remove the Old Sole
There are a few ways you can do this, one being with pliers. Taking the pliers and slowly pulling away from the old sole until it’s fully come off is a great way to try to get as much as possible. Another way is an Exact-O knife or any other strong knife! This can be an easier option than pliers, as you can cut as close to the actual shoe bit as possible. Making any other work a bit easier in the long run.
4. Get Rid of Any Remaining Sole
Cutting away the old sole might have gotten most of it, but it might not have gotten all of it. You can use your knife to cut away any bigger pieces, and slowly chip away at it, but there may still be little pieces left around it that you can’t quite get too. If this is the case, then you’re going to want to get rid of anything remaining so that it doesn’t get in the way of the new sole! To better remove anything left behind you can actually use nail polish remover! The acetone will make it easier to peel away any smaller pieces, and help clean the bottom of your sole as well.
5. Sand It Down
Now that you’ve gotten off everything you possibly could, we’re going to go the extra distance by sanding down the bottom of your shoe. This will “level,” no pun intended, the playing field and allow for a good, clean, slate to add your new sole. After sanding everything down, rinse the shoe underwater to get rid of the dust, and pat dry.
Viola, a sole removed! What’s next? There are a couple of ways you can go about it. You can either make your OWN new sole if you’re one to go the extra mile. OR you can buy a sole online and apply it. As it’s much harder and difficult to create a whole new sole for a pair of combat boots, we will only be addressing how to resole boots with a pre-made sole.
6. Apply The Glue
Making sure the bottom of your boot is clean, and dry, spread a thin and even layer of glue on the bottom of the boot. You can use a brush, that is often within a sole-gluing-kit or a regular paintbrush will do. You can’t use just any glue, however, Elmers will not keep up with the wear and tear of boots. There are a number of glues you can purchase, that will be linked below.
Applying the glue is an important part as you don’t want to have too much glue, to avoid a mess, but also too little will require you to once again disassemble the shoe and try again. A thin, but even layer, should do the trick in order to ensure perfect sole attachment.
7. Press the New Sole On To The Boot
Carefully take the new sole and press it firmly on to the boot. Holding it thrush against the boot will make sure that there are no air pockets, and that every area is being glued together. If you happen to place it unevenly, don’t fret. You should have a bit of time to arrange the sole the way you need to as the glue begins to set in. Some glues need heat to activate, in which case you’ll need your hairdryer back! Once you’ve got it in a solid spot, then you can move on.
After you’ve pressed it in a correct way, wipe away any glue that may have spilled over to avoid any left behind stains. You can use a wet rag, or a paper towel to remove this.
8. Tie The Boot and Sole Together
Once you have the sole in a solid place, you’re going to want to tie the boot and the sole together. This is because you’ll need to leave the boot and the sole pressed together for about 24 hours. You can do this a number of ways, whether it be rubber bands, a clamp, or rope to tie them together, make sure they’re tied tight and are left for the next 24 hours.
Ta-Da! You’ve resoled your shoes,
No need to go to anyone else, unless your new sole happens to come off, this should last for quite a bit longer! You’ve now saved yourself both time, and money, and potentially having to buy a whole new pair of shoes. Who needs shoe-making elves when you have your own set of skills!
There are a few things we mentioned within this article that are gonna be necessary for this project, and if you’re interested in some of the best things to buy, we’ve got you covered!
Soles!
The new sole is the star of this show, and you’re going to need a good one for a combat boot. There are a few places you can look!
The Vibram Sole seems to be the most popular of the sole replacements especially for military boot replacements you can buy a number of places you can look into purchasing these.
- Nushoe.com
- Amazon.com
- Dabootshop.com
These are all great websites that are going to be able to supply you with the type sole that you’ll need for the combat boot!
Glue
Shoe glue is another thing you’re going to need, and as we mentioned earlier you’re going to need a very specific type of glue in order to make sure it sticks. Ace Hardware, and Amazon both have great options for shoe glue, and the most common, and best-ranked, glue, seems to be the Oatey Clear All-Purpose Cement.